Building your Topsy RC Balsa Plane is a rewarding experience, combining the craftsmanship of classic balsa wood construction with modern precision. This model is designed using traditional balsa wood, ensuring a lightweight yet durable frame that provides very good flight performance.
Follow the notes included in the PDF plan The process involves carefully cutting and assembling the balsa parts, as provided in the DXF laser-cut files. Each component is designed to fit together seamlessly, ensuring an easy and enjoyable build.
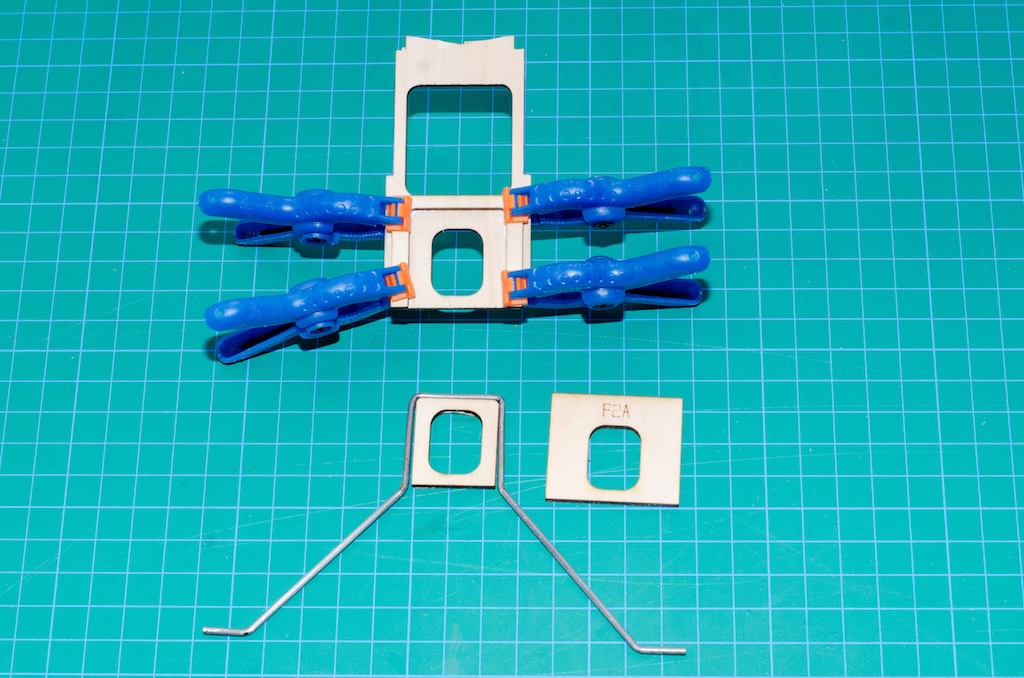
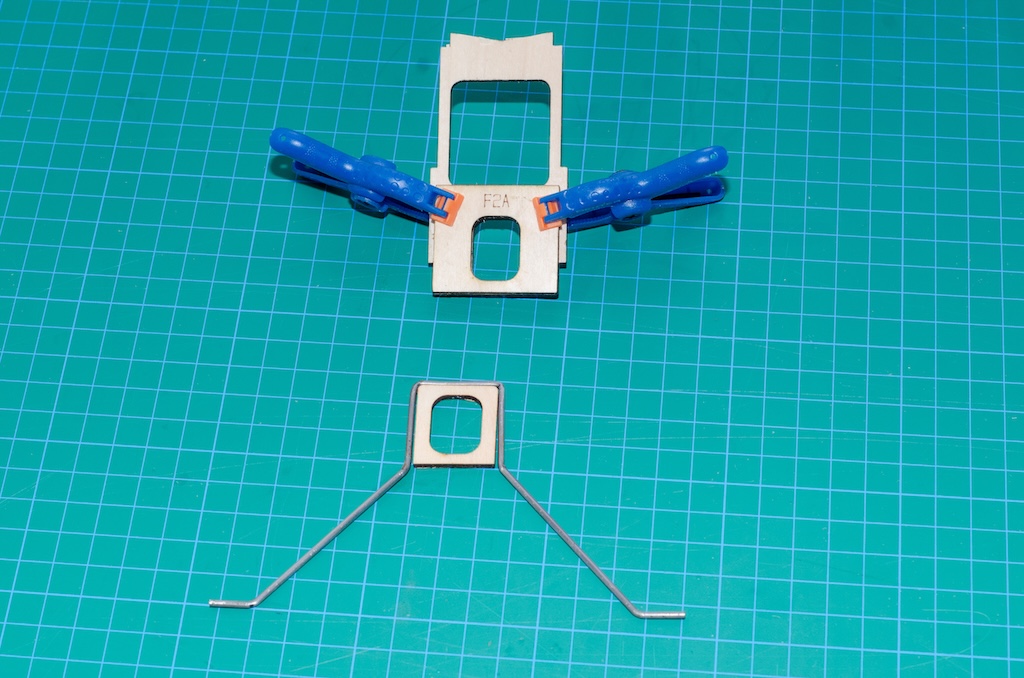
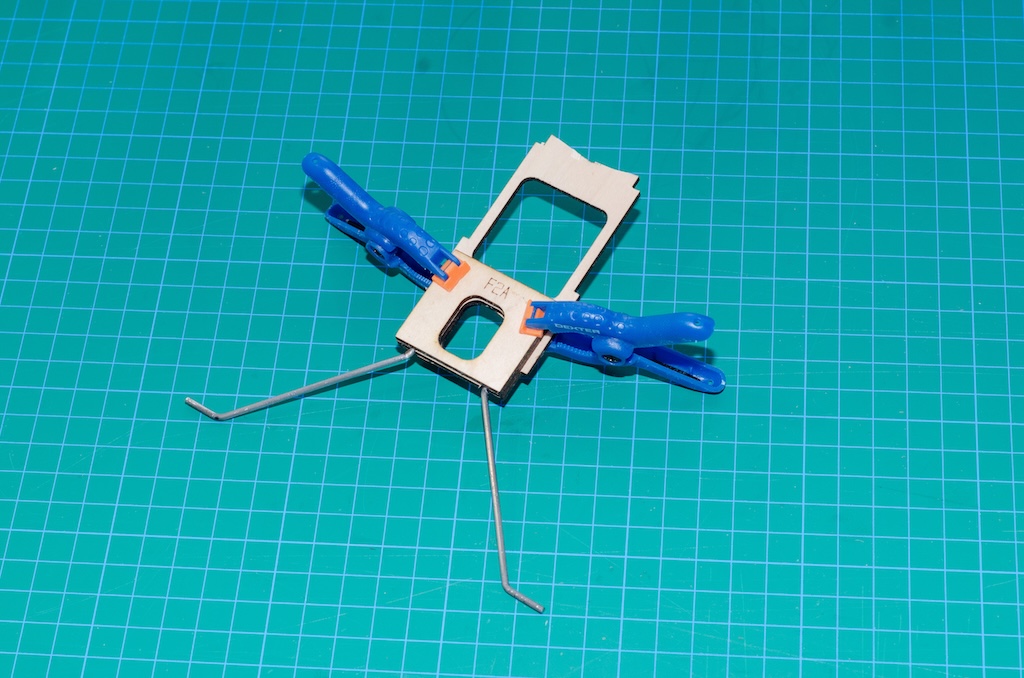
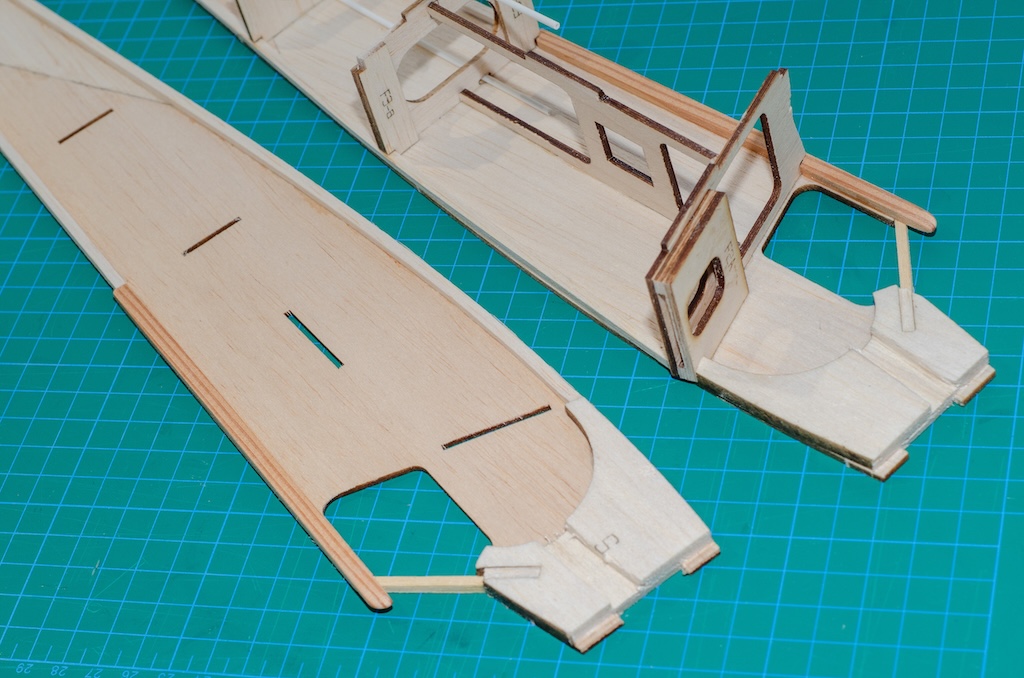
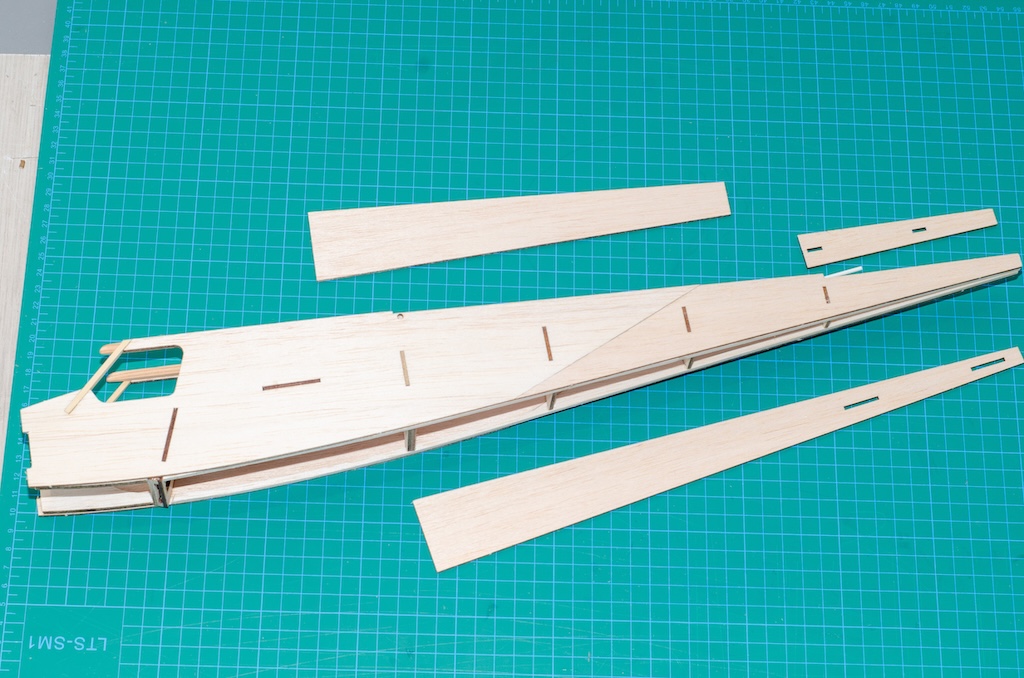
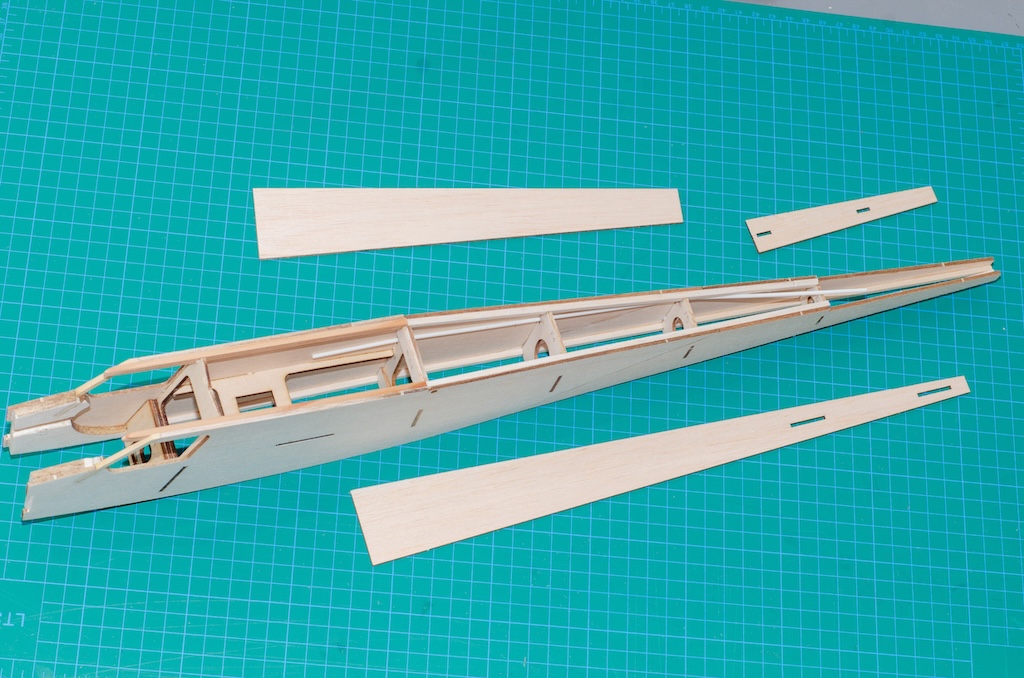
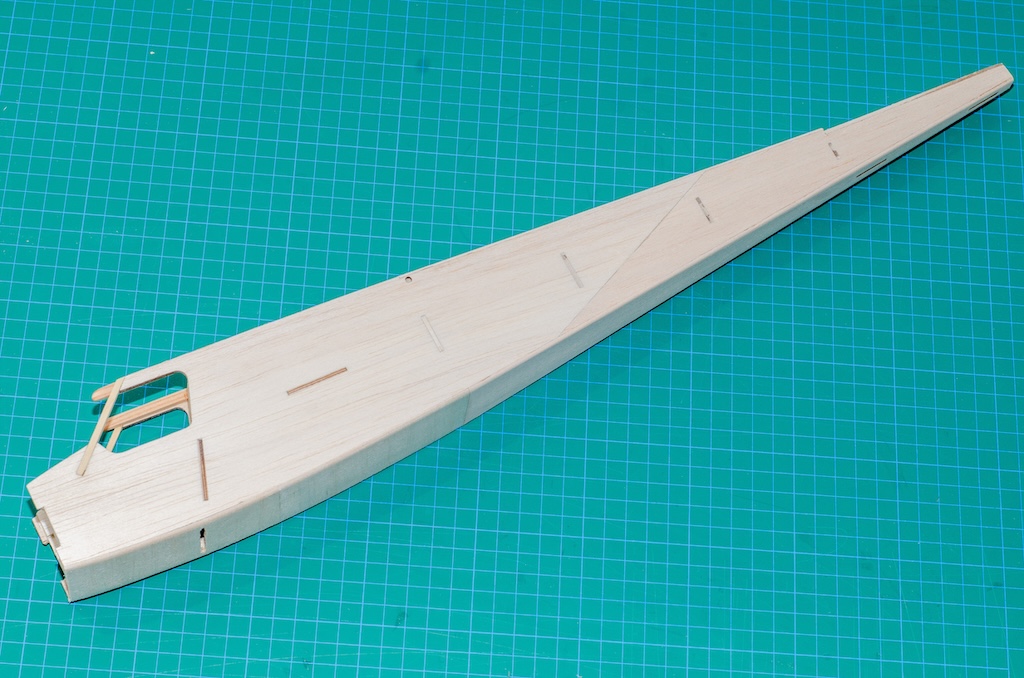
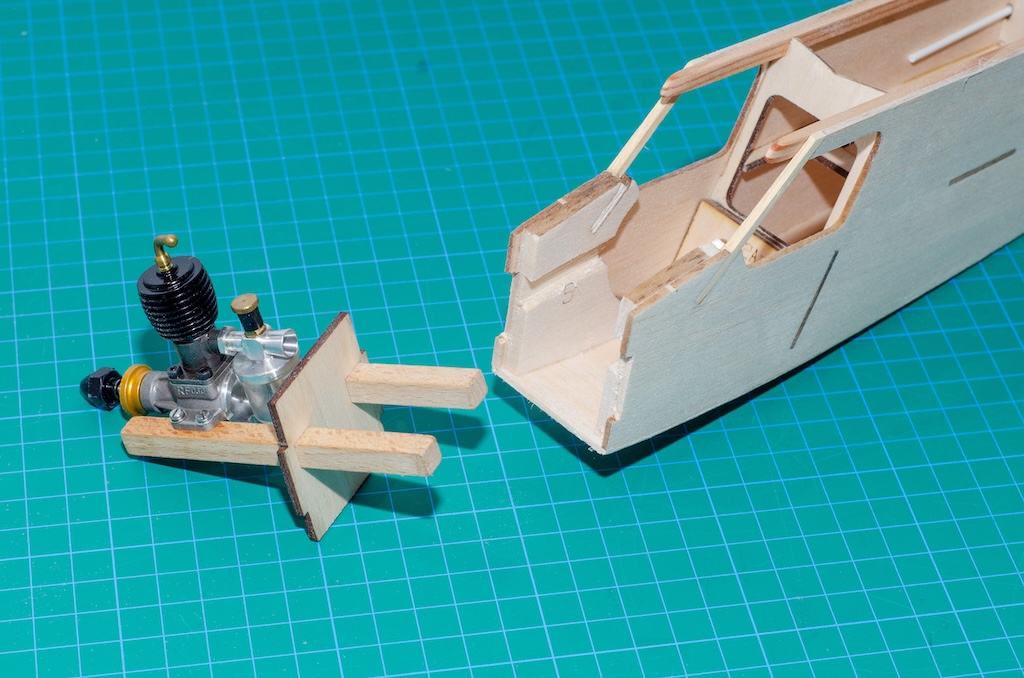
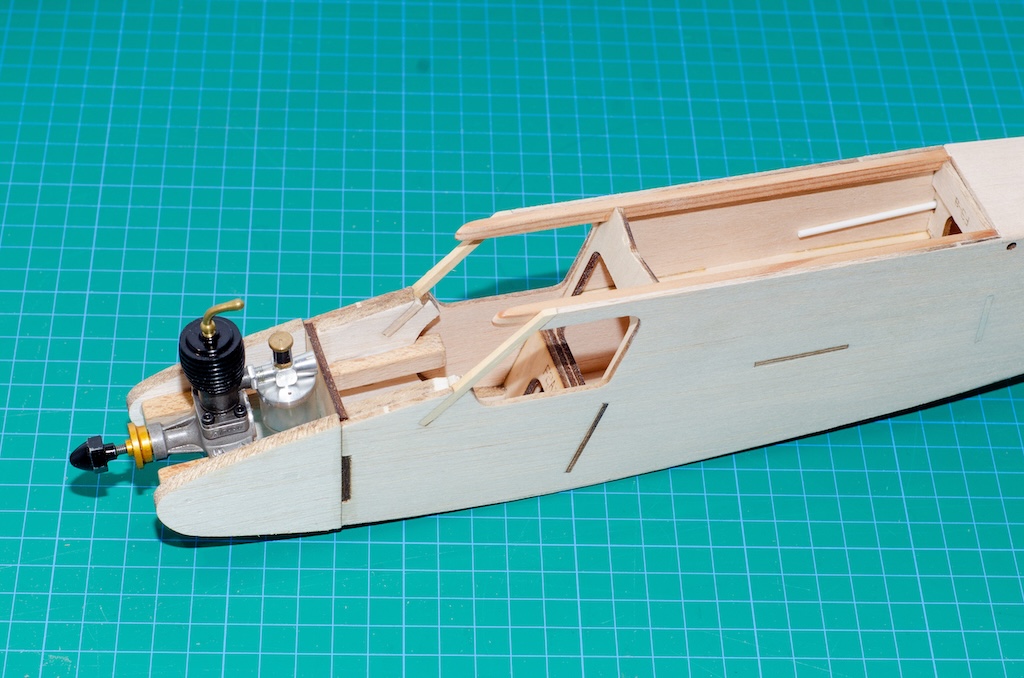
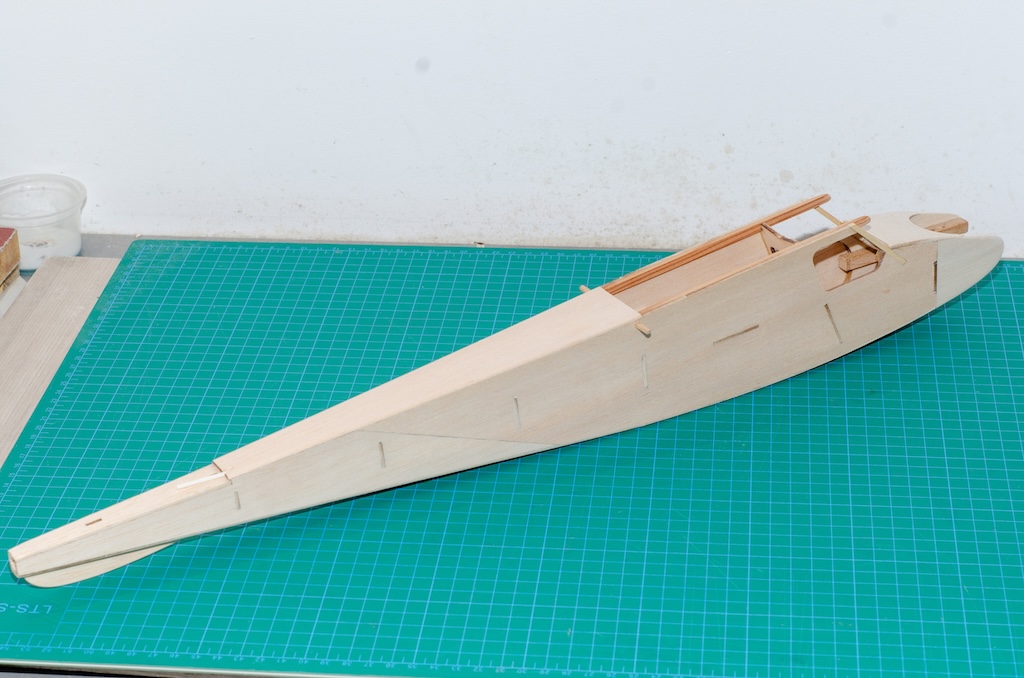
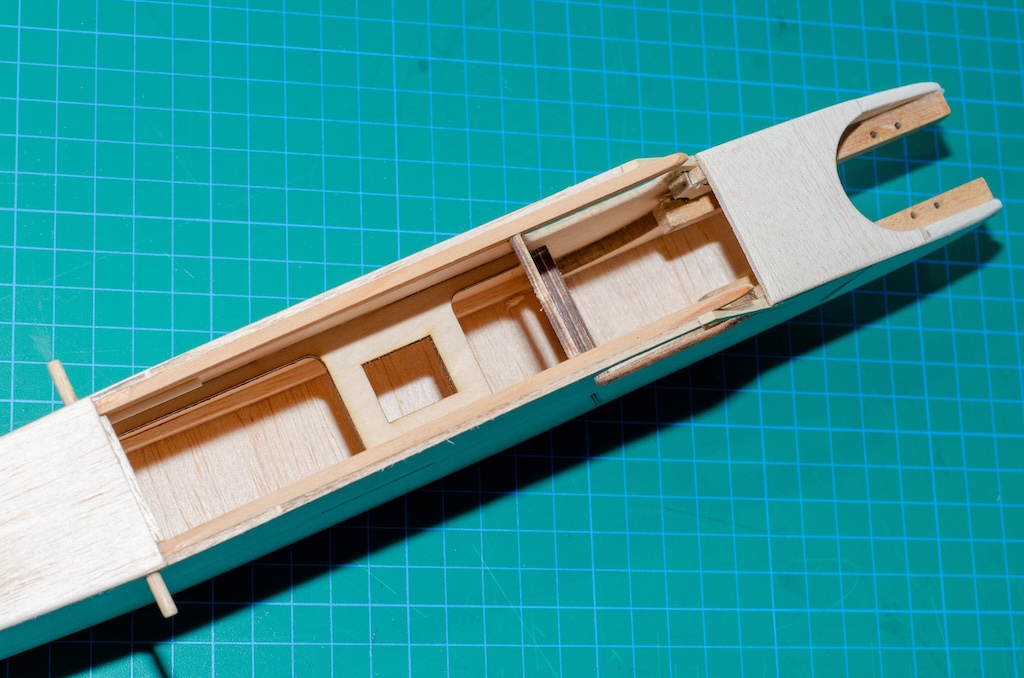
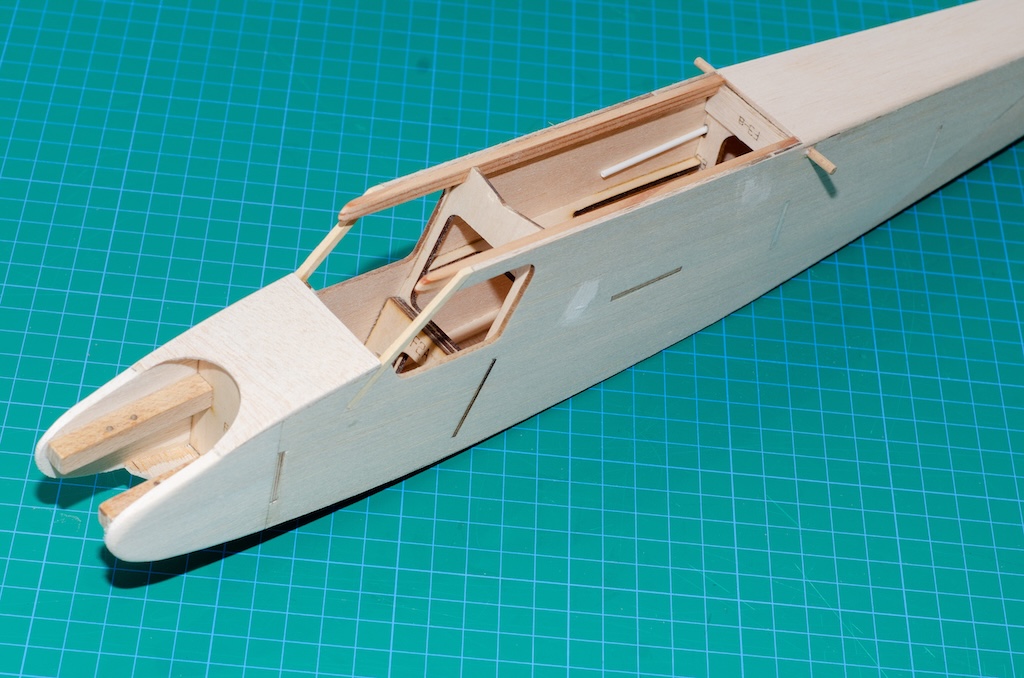
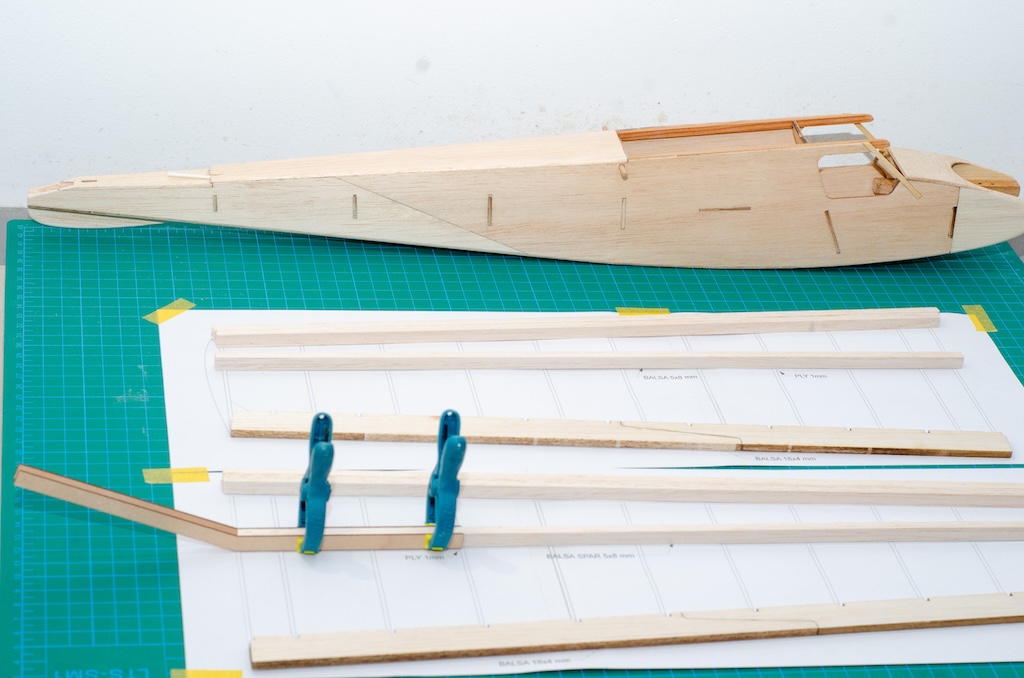
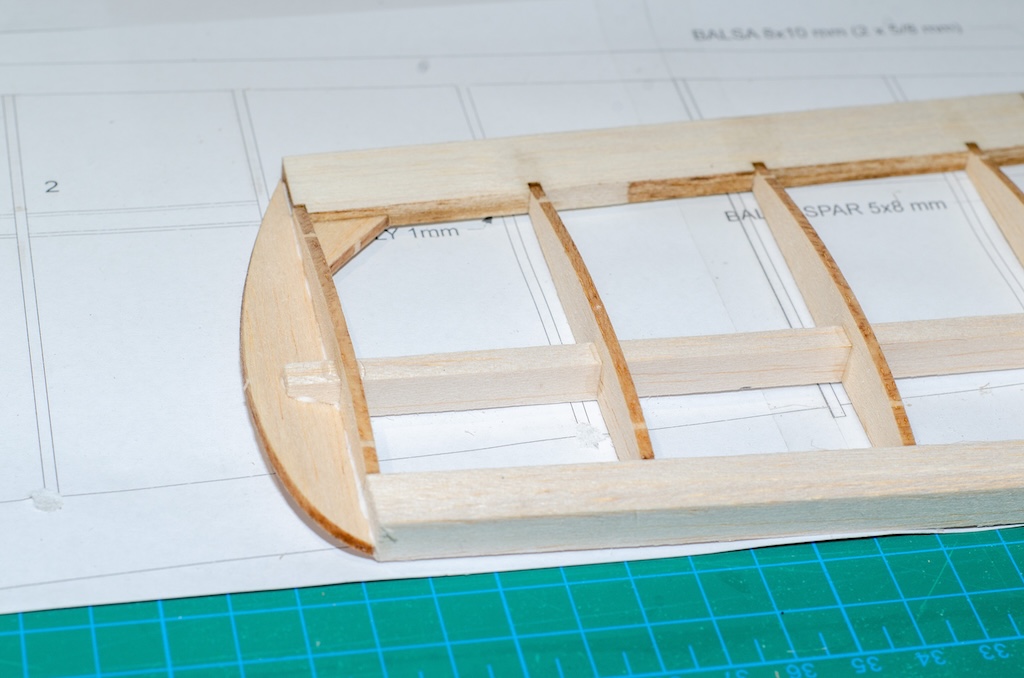
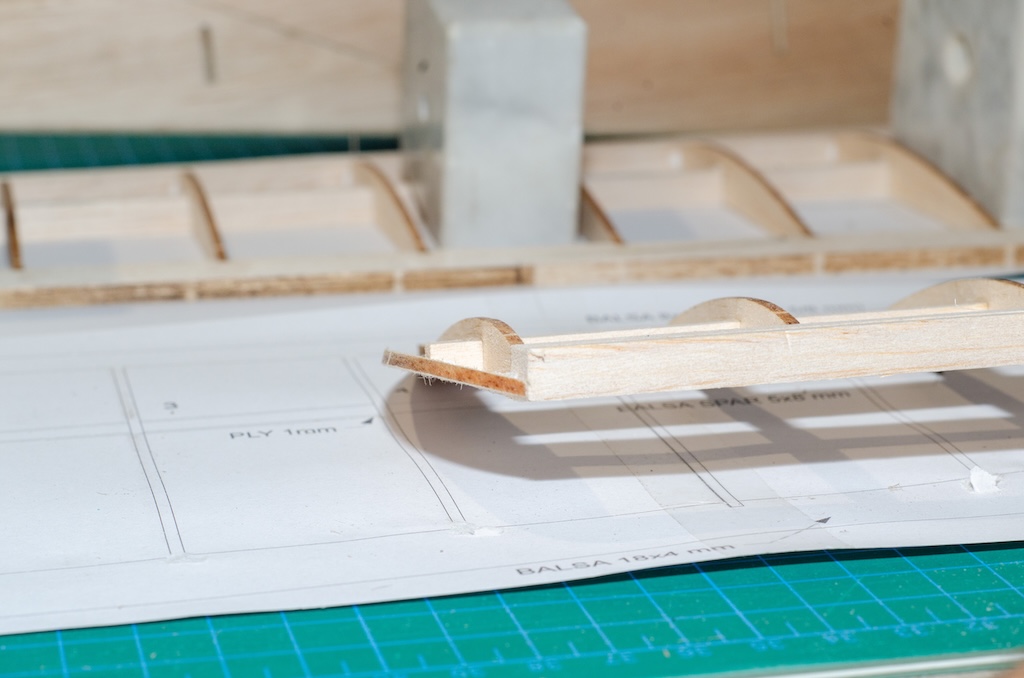
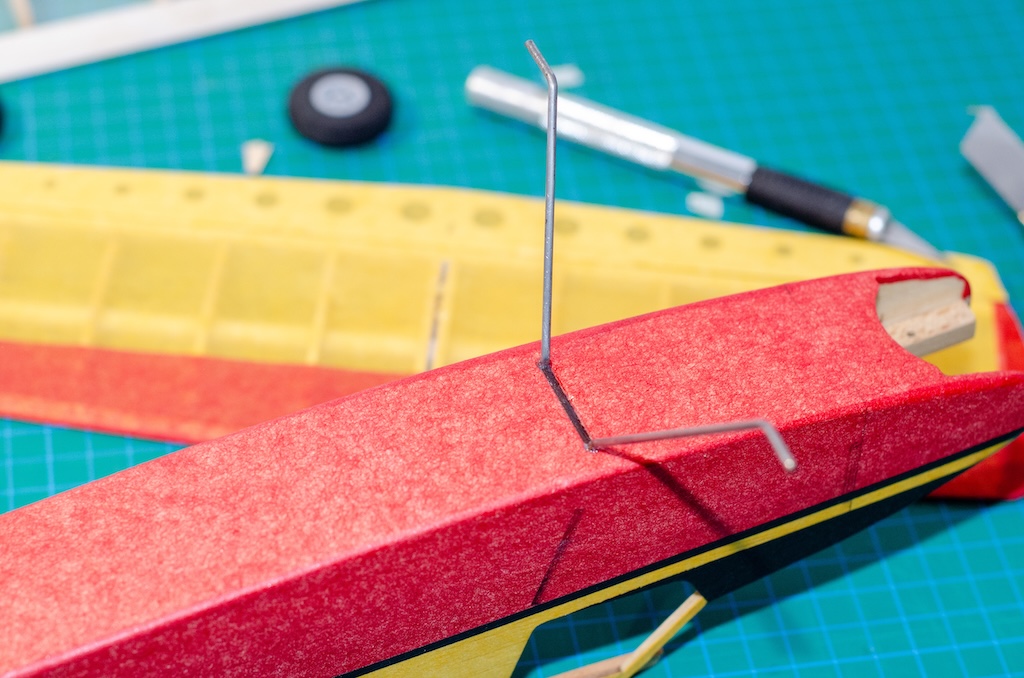
Topsy Fuselage Build

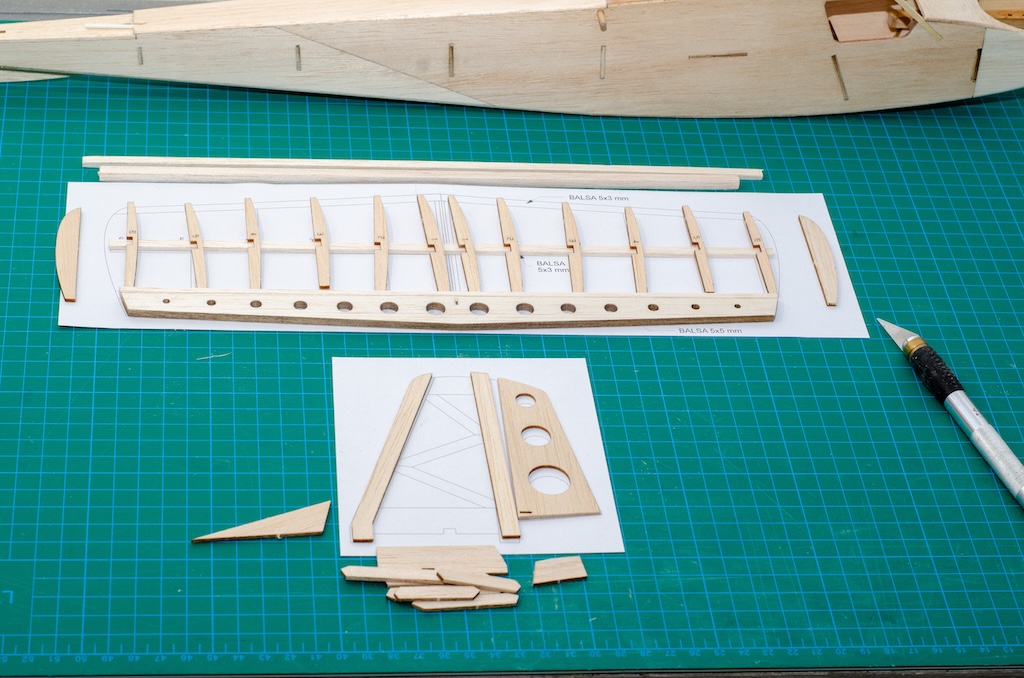
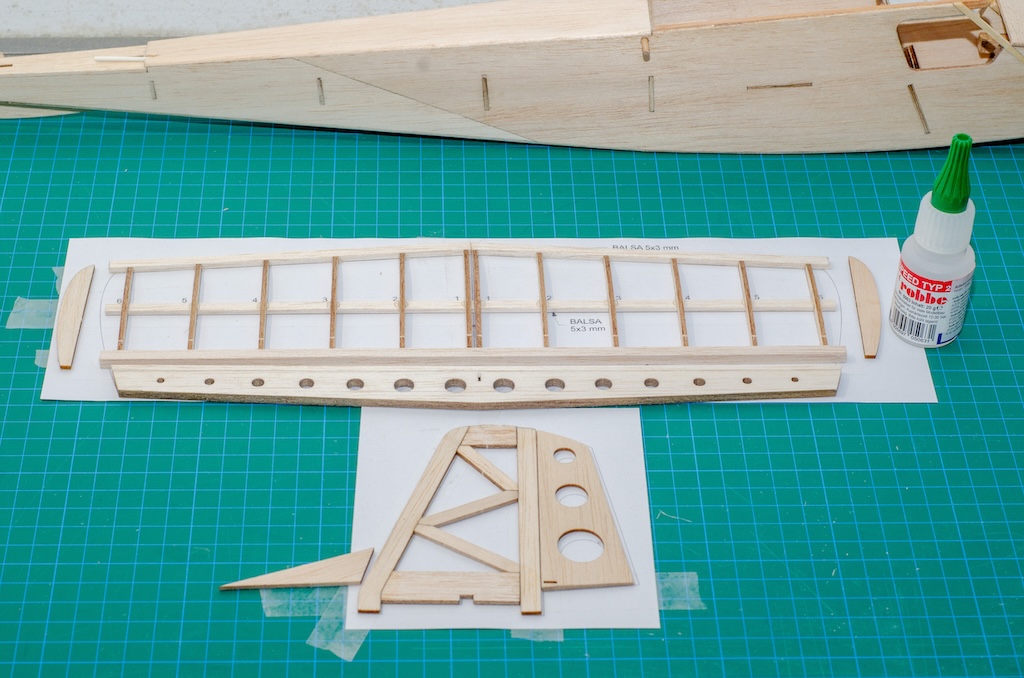
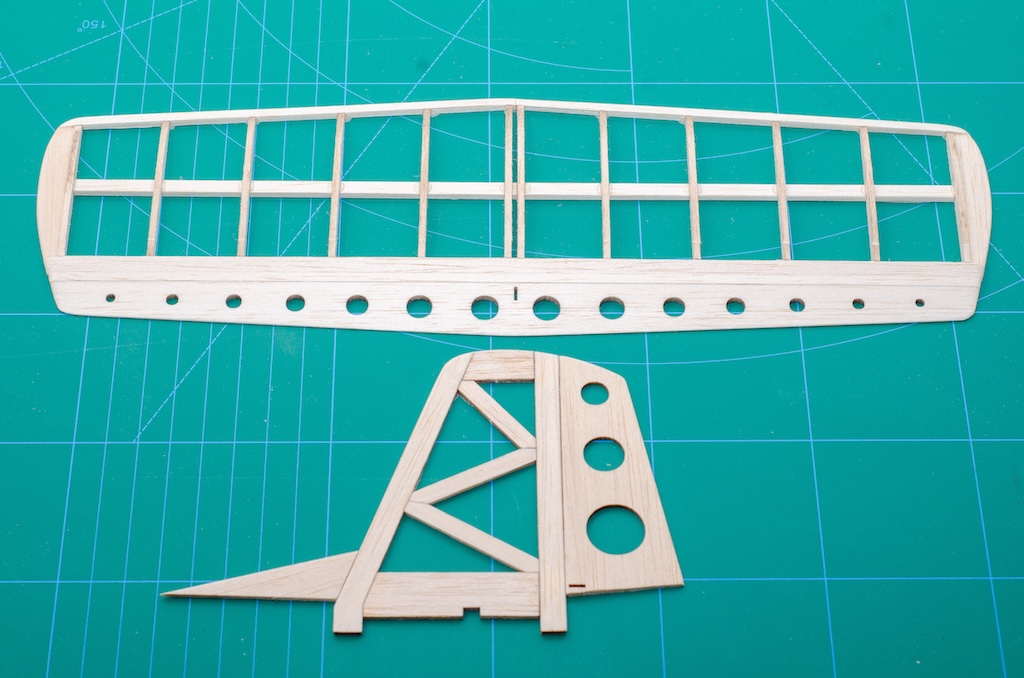
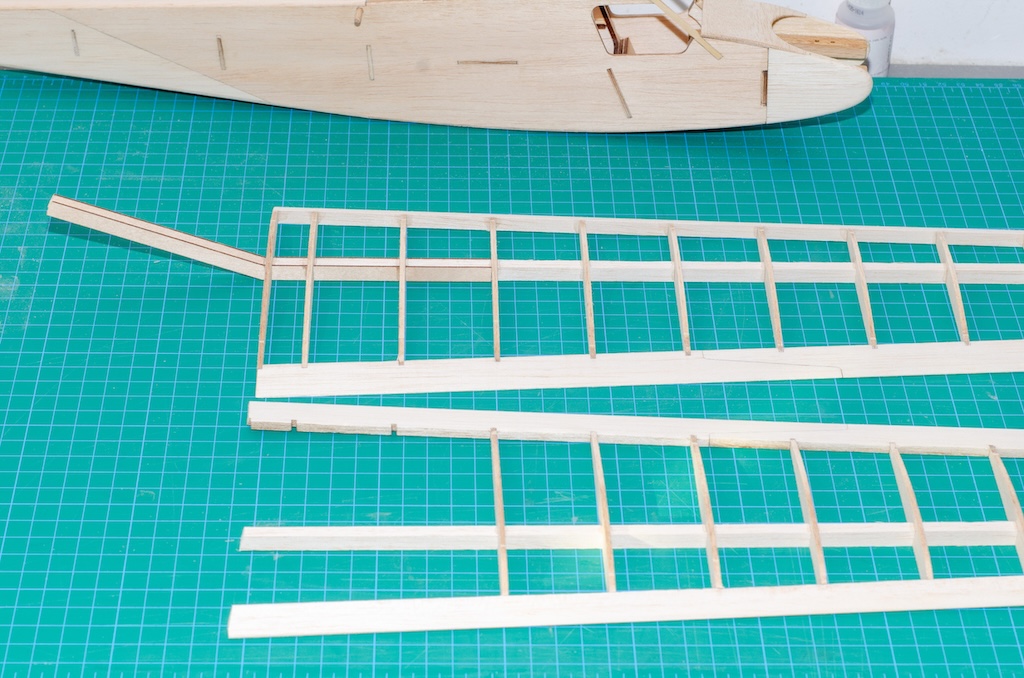
Wing & Tail

Materials:
- Balsa Wood – good quality sheets (2 and 5 mm)
- Adhesives – Use wood glue and CA (cyanoacrylate) glue to assemble the pieces. These adhesives provide a strong bond without adding extra weight.
- Tools – Basic modeling tools such as a craft knife, sanding tools, and a cutting mat are recommended for clean cuts and smooth finishes.
Assembly Process:
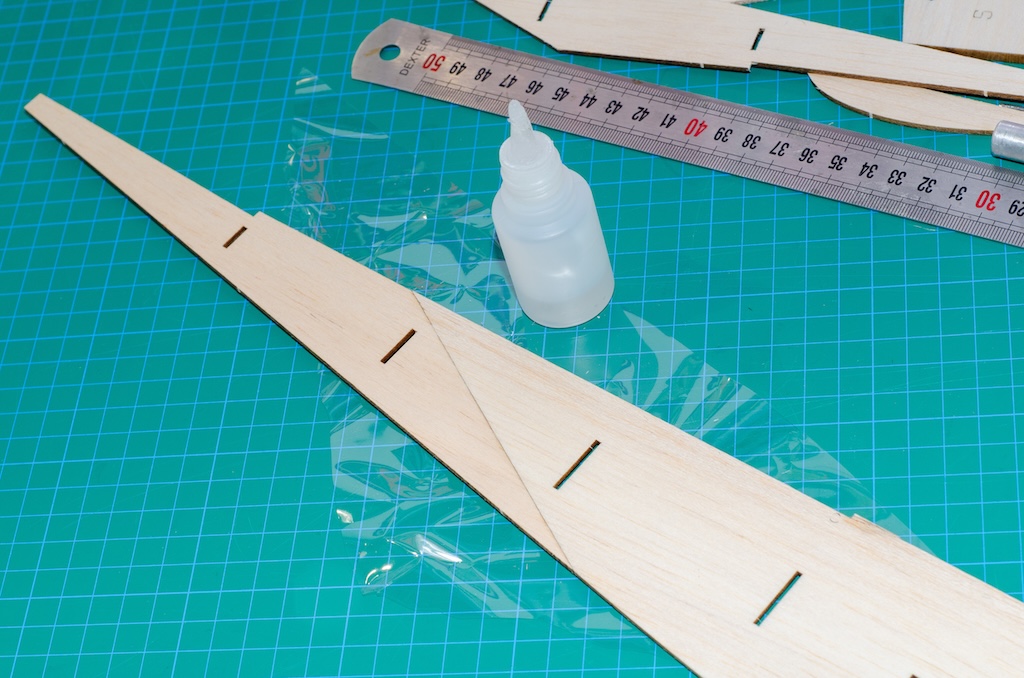
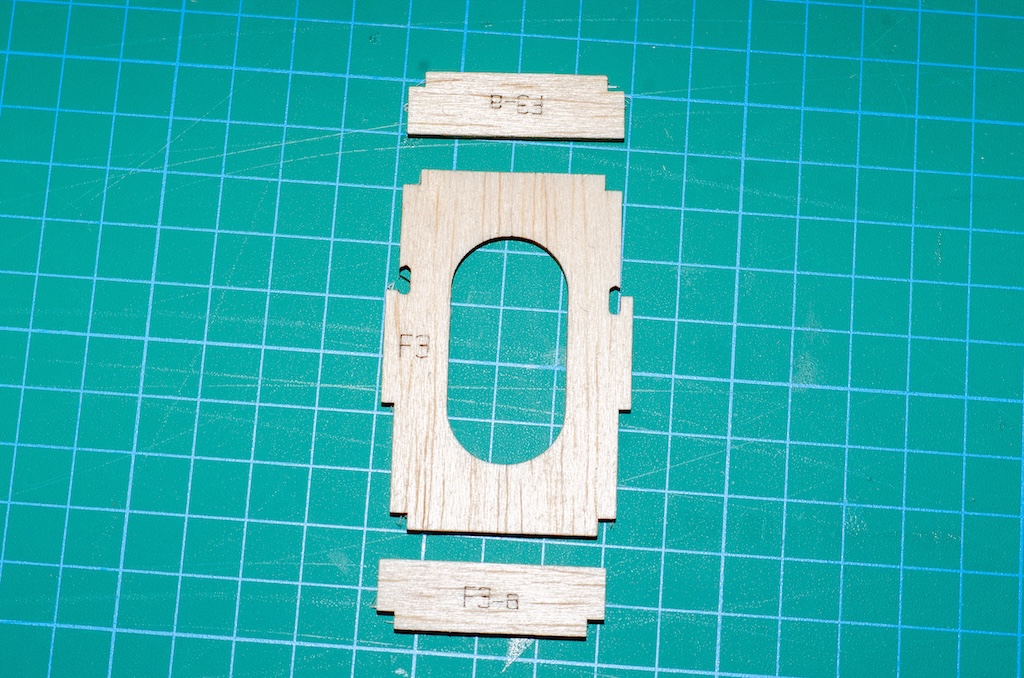
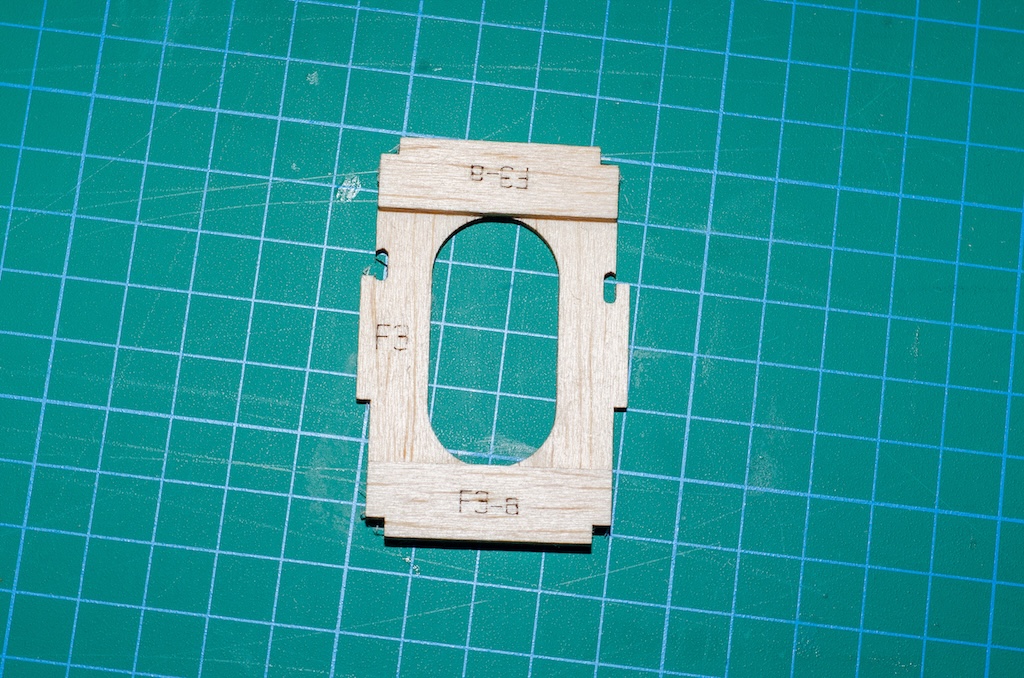
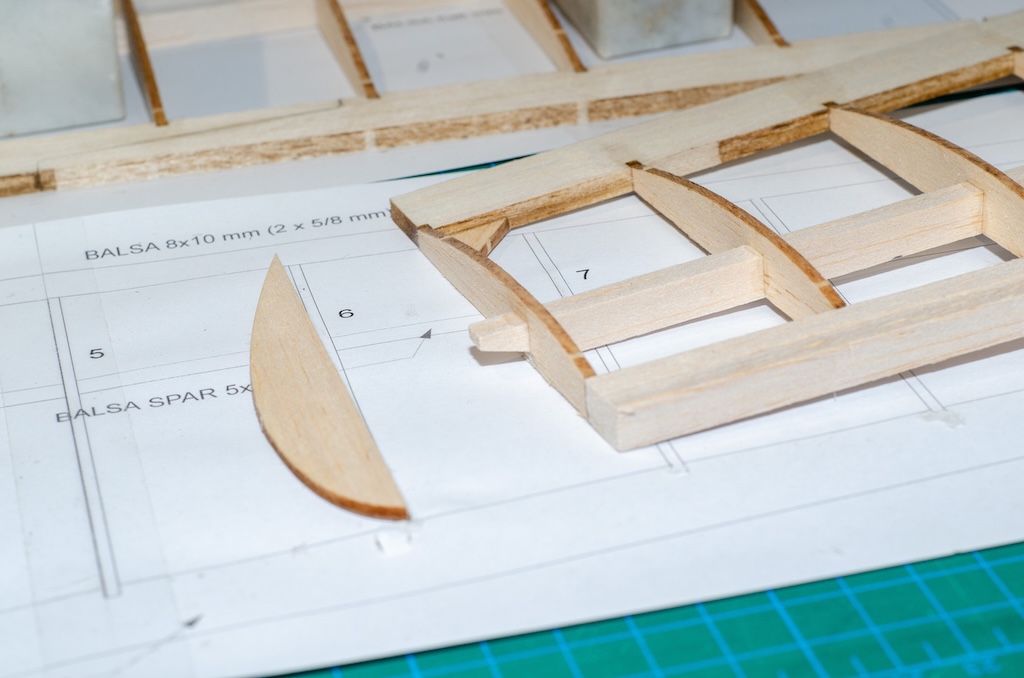
- Prepare the Parts: Begin by extracting all the laser-cut balsa pieces from the sheets. The DXF files will guide you through the individual parts, ensuring everything is accounted for. Use a hobby knife to carefully separate the parts from the laser-cut sheet, taking care not to damage any delicate sections.
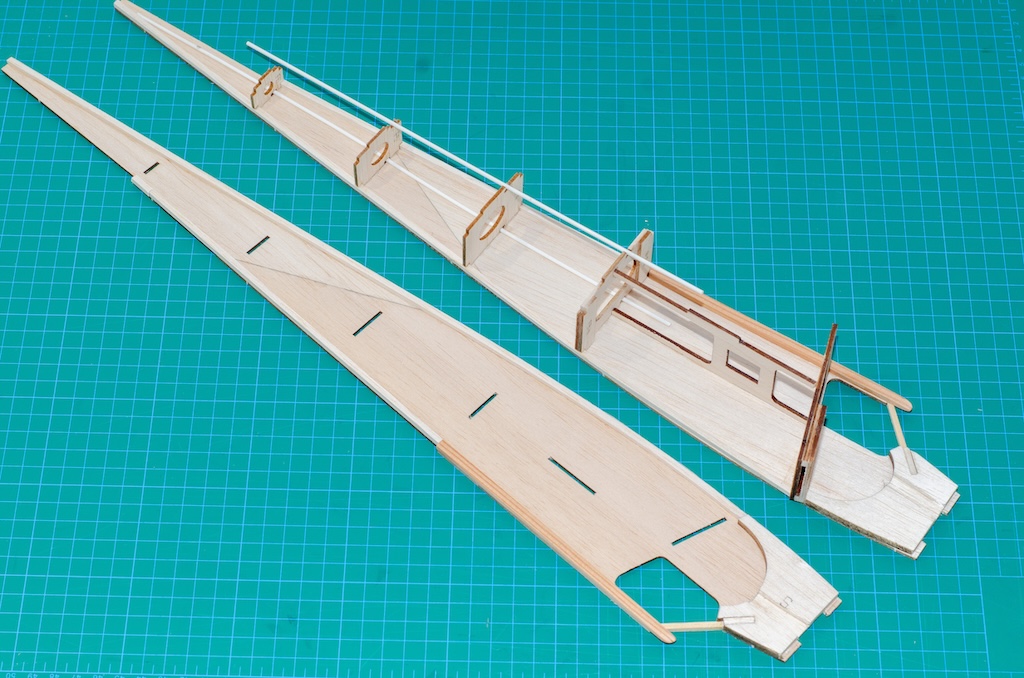
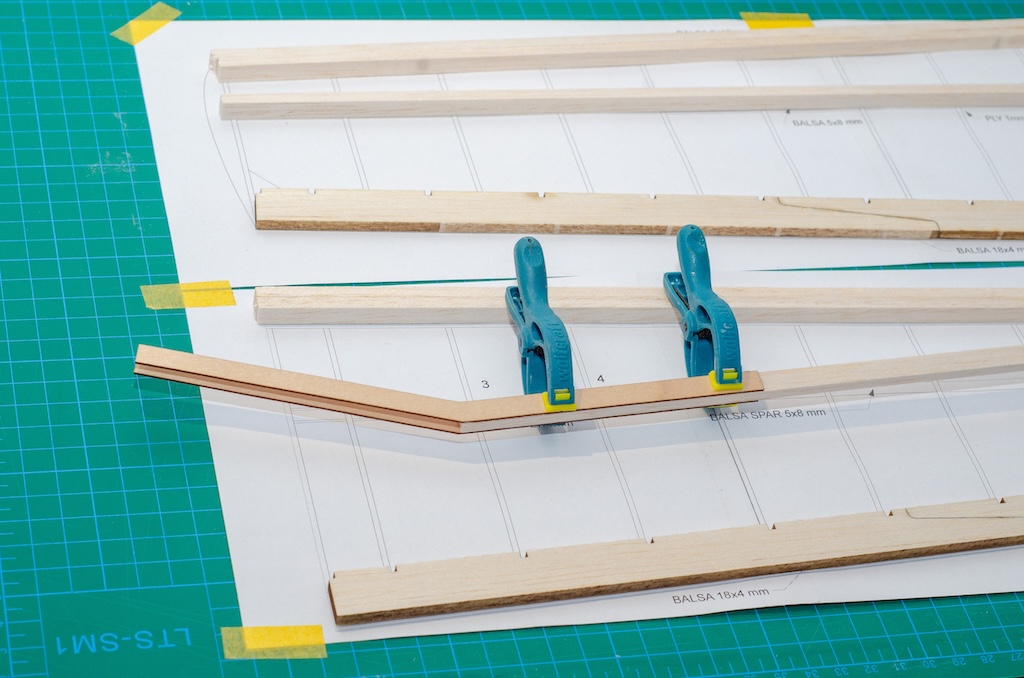
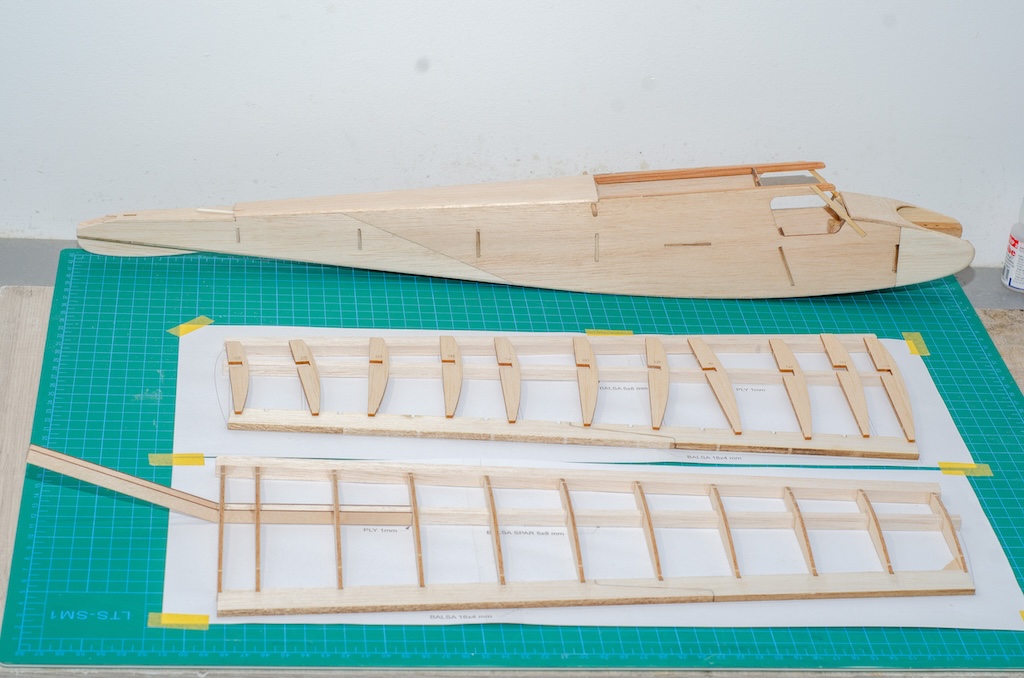
- Fuselage Assembly: Start with the fuselage, the core structure of your plane. Using the construction plan, begin assembling the frame by attaching the side pieces and reinforcing with cross-members. Ensure the pieces are aligned properly and use clamps if necessary while the glue dries.
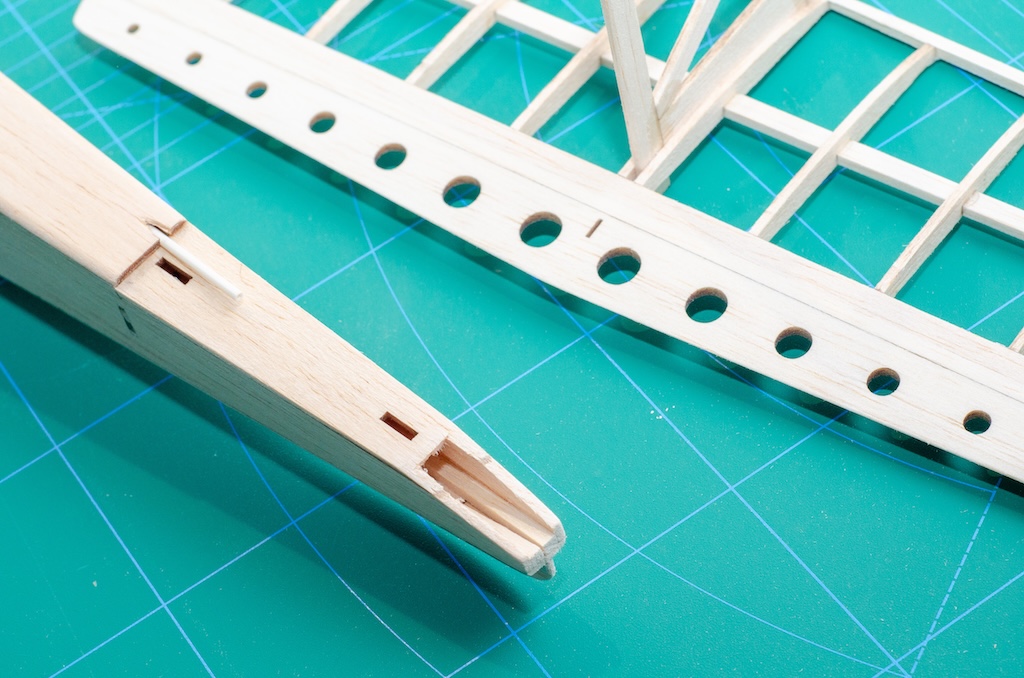
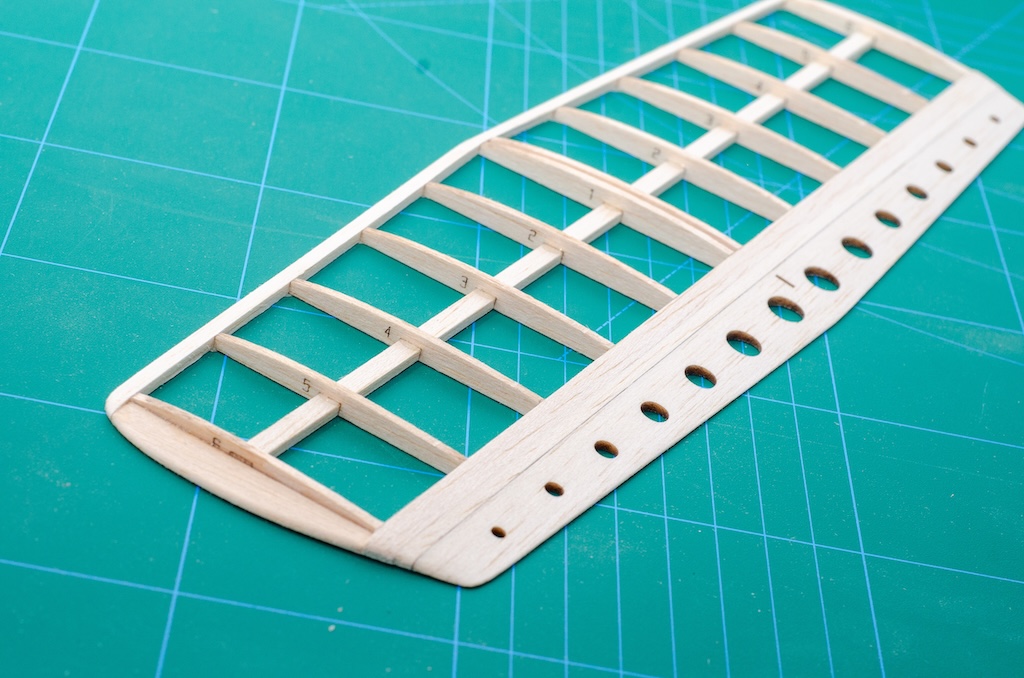
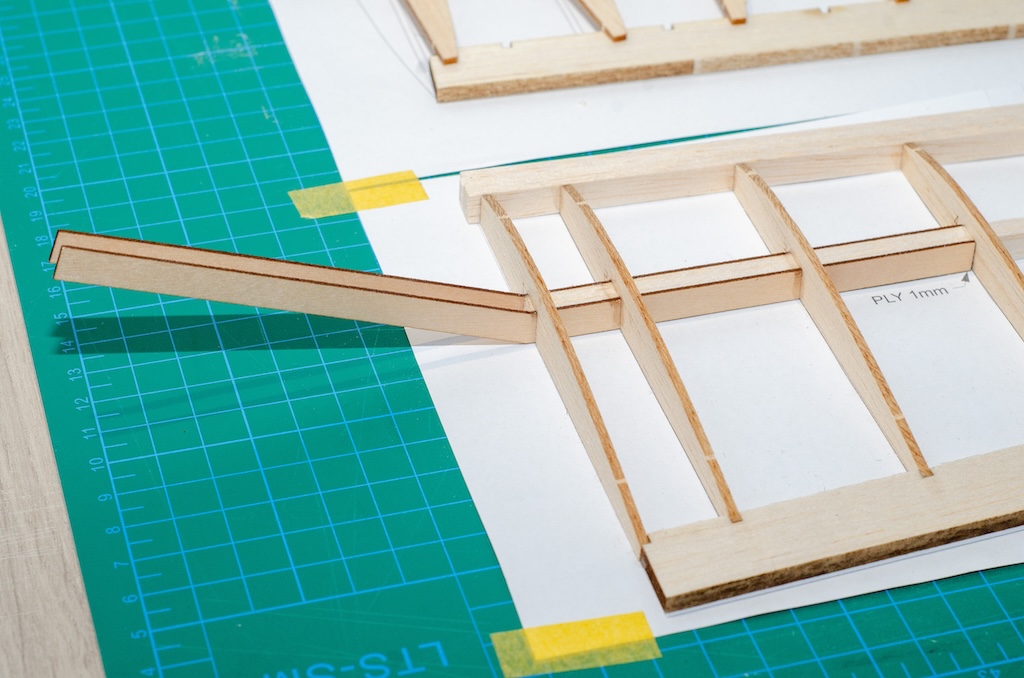
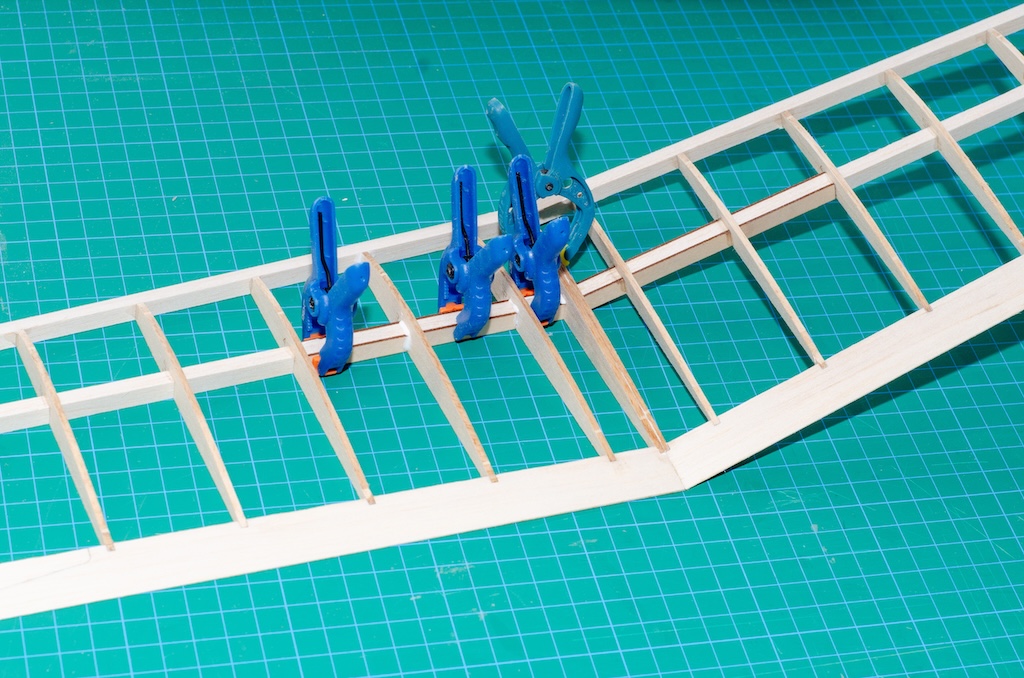
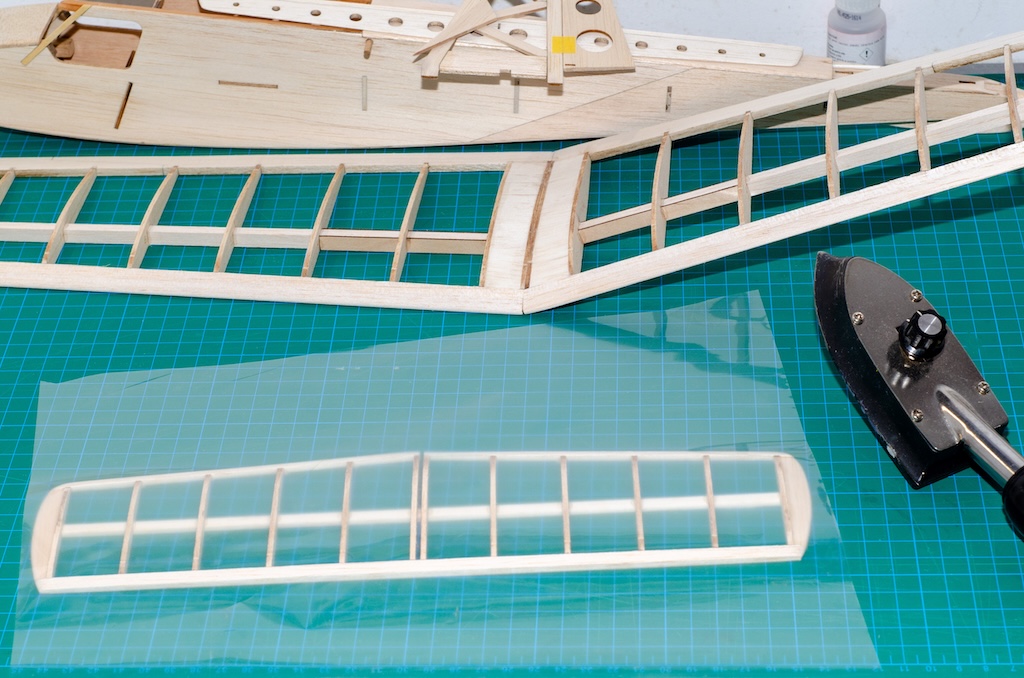
- Wing Assembly: After the fuselage, move on to assembling the wings. Attach the leading and trailing edges to the ribs, ensuring the wing is symmetrical and properly aligned. Reinforce the structure with additional balsa pieces where needed to add strength and rigidity.
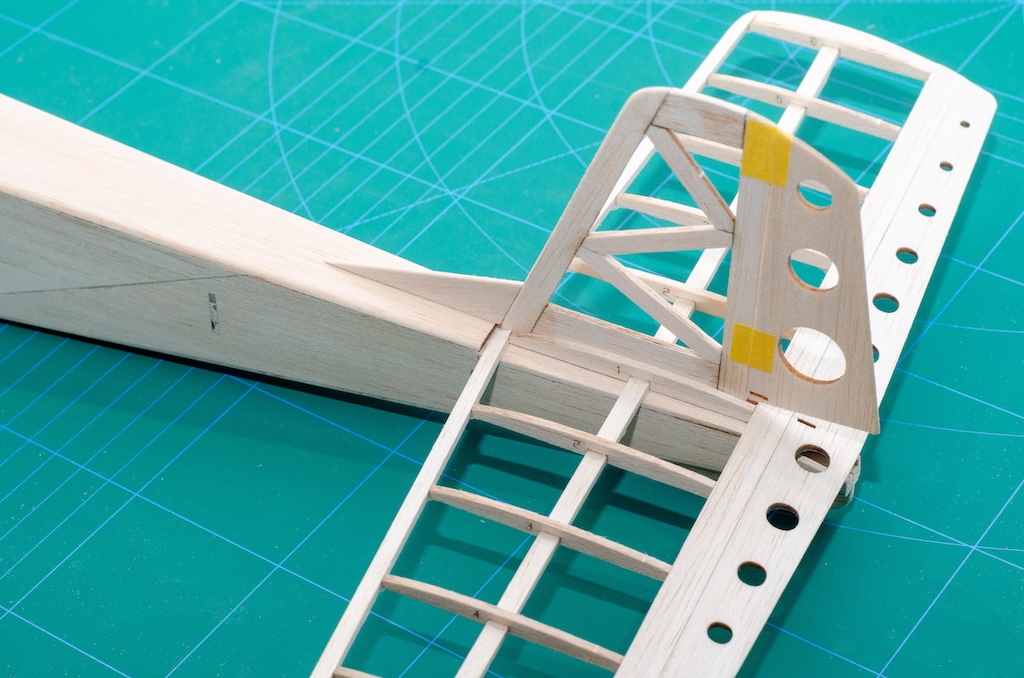
- Tail and Empennage: Build the horizontal stabilizer and vertical fin by carefully gluing the balsa components together. The tail surfaces play a crucial role in the plane’s stability, so be sure to check that everything is aligned and squared.
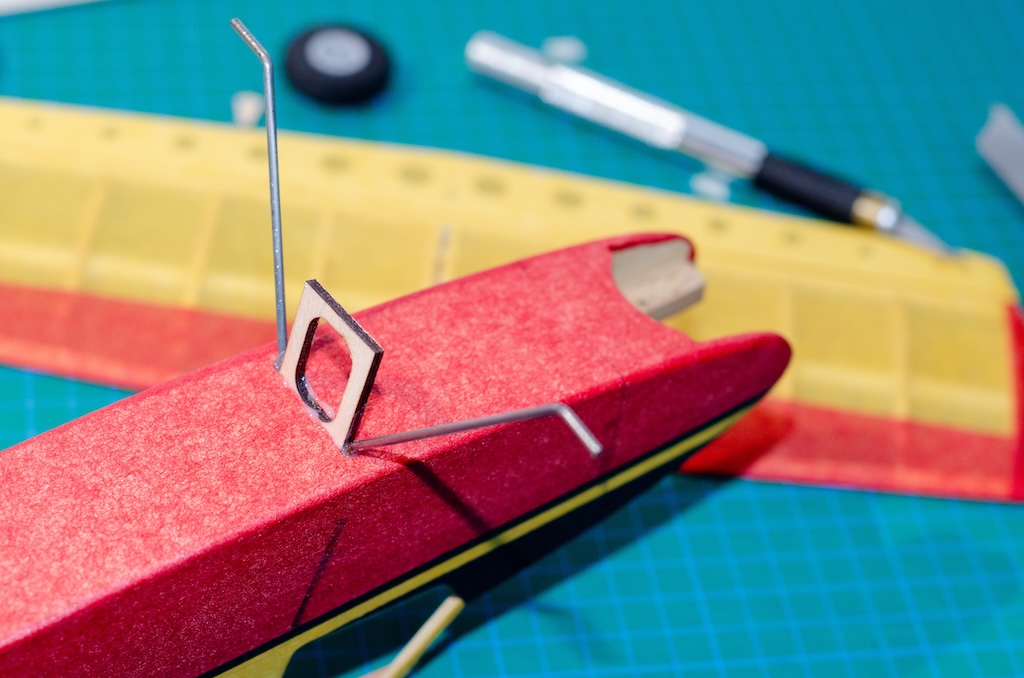
- Final Assembly: Once all major components are built, attach the wings, tail, and other control surfaces to the fuselage. Double-check that all parts are securely glued and aligned. The DXF plan will include specific instructions on how to attach each section and ensure proper balance.
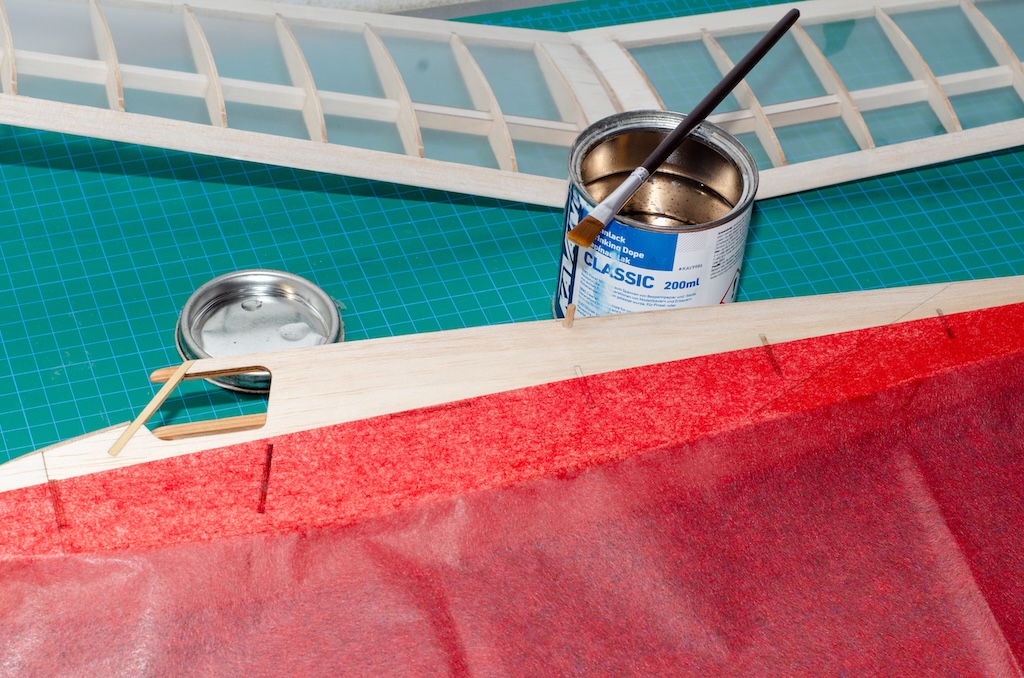
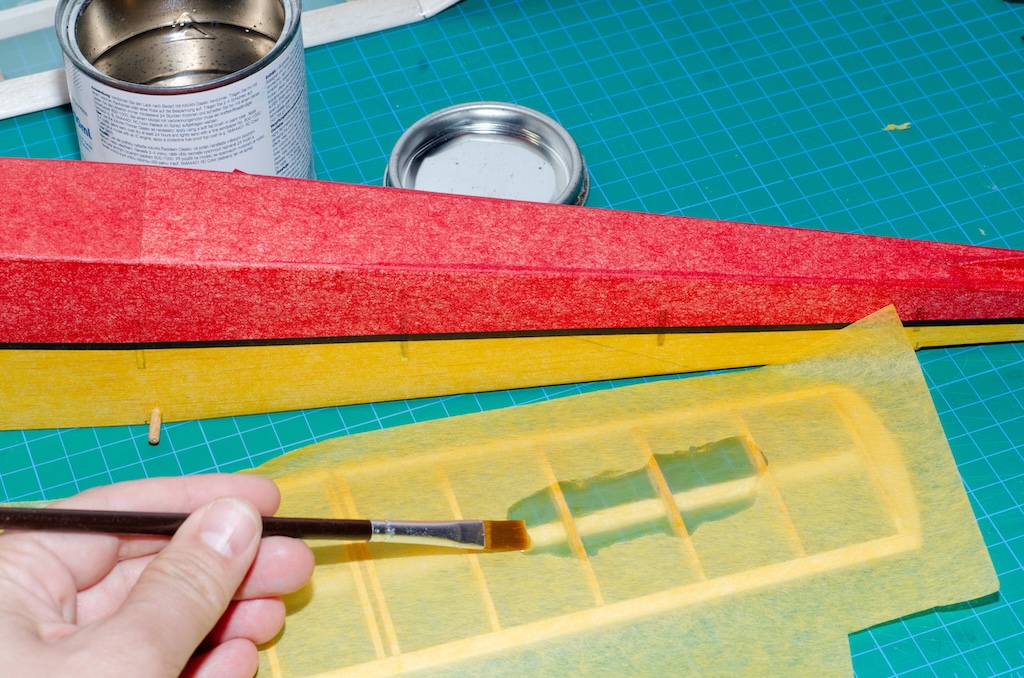
- Finishing Touches: Sand down any rough edges for a smooth finish. Apply the custom decals (included in the DXF file) to give your Topsy RC plane its classic look. You can also add any other finishing touches like paint or varnish to enhance the appearance of your model.
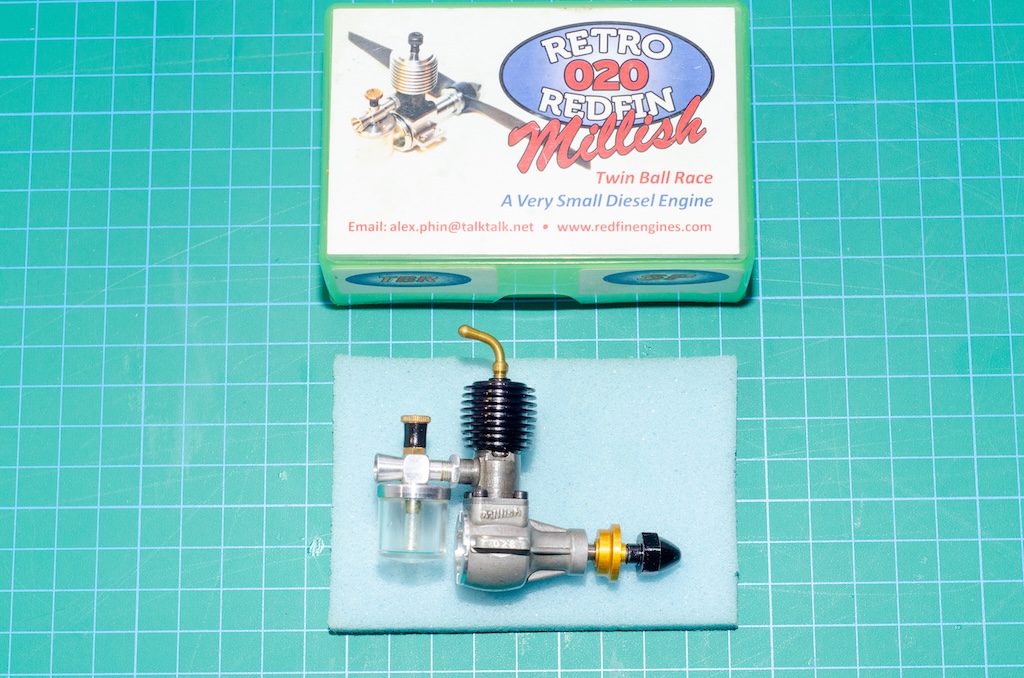
- Installation of Power System: Depending on your preference, install either the electric motor or the COX .049 glow engine. Ensure that the power system is securely mounted and the wiring or fuel lines are properly routed to prevent interference with moving parts.
Tips for Success:
- Patience is Key: Take your time during each step of the assembly to ensure a perfect fit and finish. Rushing through the process can result in misalignments or weak joints.
- Weight Distribution: Pay careful attention to the weight distribution of your plane. The Topsy is designed to be lightweight, so try to keep the overall weight within the specified range (250-300g) for optimal flight performance.
- Dry Fit Components: Before gluing any parts together, dry-fit them to make sure everything aligns correctly. This will prevent errors and make assembly much easier.
By following these instructions and using the classic balsa wood construction method, you will create a beautifully crafted Topsy RC plane that combines vintage style with modern flight capabilities. Enjoy the process and the thrill of flying your custom-built model!
Leave a Comment
Your email address will not be published. Required fields are marked *